Modelling compound is a great way to build up shapes and bulk on your terrain projects, and it’s easy to make your own at home in large volumes. Since it is partly made up of paper pulp, it is lighter and more impact resistant than the equivalent volume of plaster, and it’s a lot easier to work with! In this post we’ll go over how to make it and how to prepare it for use. If you prefer to watch a video about it instead, you can find it on https://youtu.be/vvTs6dCmeIo!

Materials required
- Paper pulp
- Plaster of Paris OR Gypsum powder OR Polyfiller powder
- Water
- Optional: Salt and/or white vinegar
The Paper Pulp
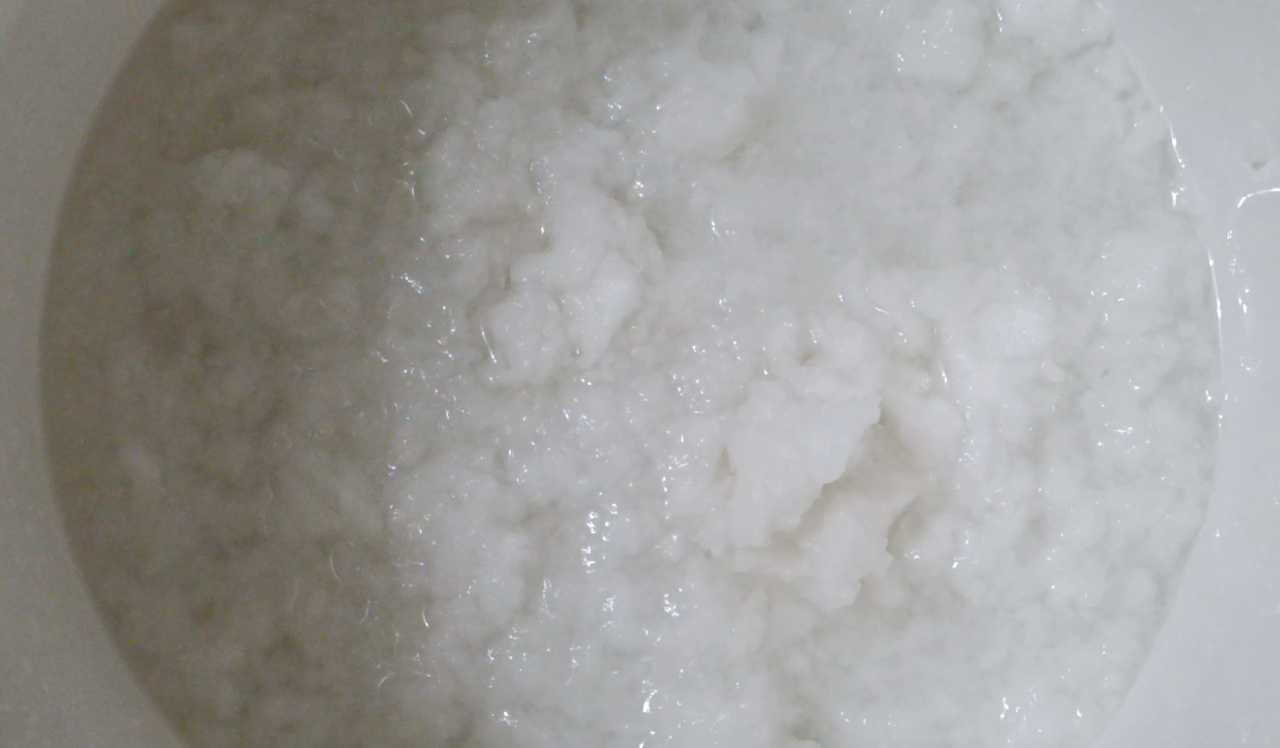
To make paper pulp, soak paper in a bucket and tear it up. Toilet paper is the easiest to work with as it breaks down quite quickly. You’ll need at least enough water to fully immerse all the paper. Work the wet paper with your fingers until it’s all a mushy pulp.


More resistant paper needs to soak longer and needs a bit more effort to pulp but I have been able to make useable pulp out of glossy paper. Since this is a bit tougher I let it soak a few days, so in this case I would add a little salt or white vinegar (or both) to make sure the goopy mess doesn’t start to smell.
The more finely you can work the paper, the smoother the end result can be. Some people like to use a blender for this, although with toilet paper you don’t really need to.
Once the pulp is ready, you’ll need to drain most of the water out. Grab handfuls and squeeze them; this is usually enough to drain most, but not all of the water out. At this stage you can gently work the squeezed pulp to break it down into flakes.


The resulting flakes will not be completely dry, but you don’t need them to be in order to use them. That said, you cannot store them while they are wet as they will get mouldy. You can either let them air dry in a flat tray for a while, or you could bake them in an oven for about half an hour at 110°C (230°F). I’m not a fan of the latter as you can’t leave the oven unattended, and besides you still have to leave them to dry off for a while as the heat won’t get rid of all of the water; baking them completely dry takes a while longer.
Because of the drying time I like to make large batches of pulp at a time, dry it off and then store it in an airtight container. In this way I always have some at hand for when I come up with a zany idea that needs it.

Preparing for use
To make the actual compound, you will need to mix the pulp with water and either plaster, polyfiller, or gypsum powder; the ratio should roughly be 1:1:1 by volume. Since the mix starts to set quickly, it’s usually best to work in small batches.

If you throw all three together in a container, you’ll find that the powder and the water tend to run off to the bottom rather than mixing with the pulp. You can still make this work, but it takes a lot more effort to mix them thoroughly this way.
The easiest way to mix the three is to add the water to the paper pulp first and mix until all the water is absorbed. You can then start to add the powder a little at a time and knead it into the mix. At the end you should have a blob of compound with the powder mixed evenly through its volume.

Using the Compound
The mixed compound can be used like clay – you can build it up in layers or over a substructure to create shapes. Once the compound is in place, you can leave it to set for a few minutes, then come back, put some water on your fingers and smooth it or reshape it slightly. Below are just some examples of how it can be used!


